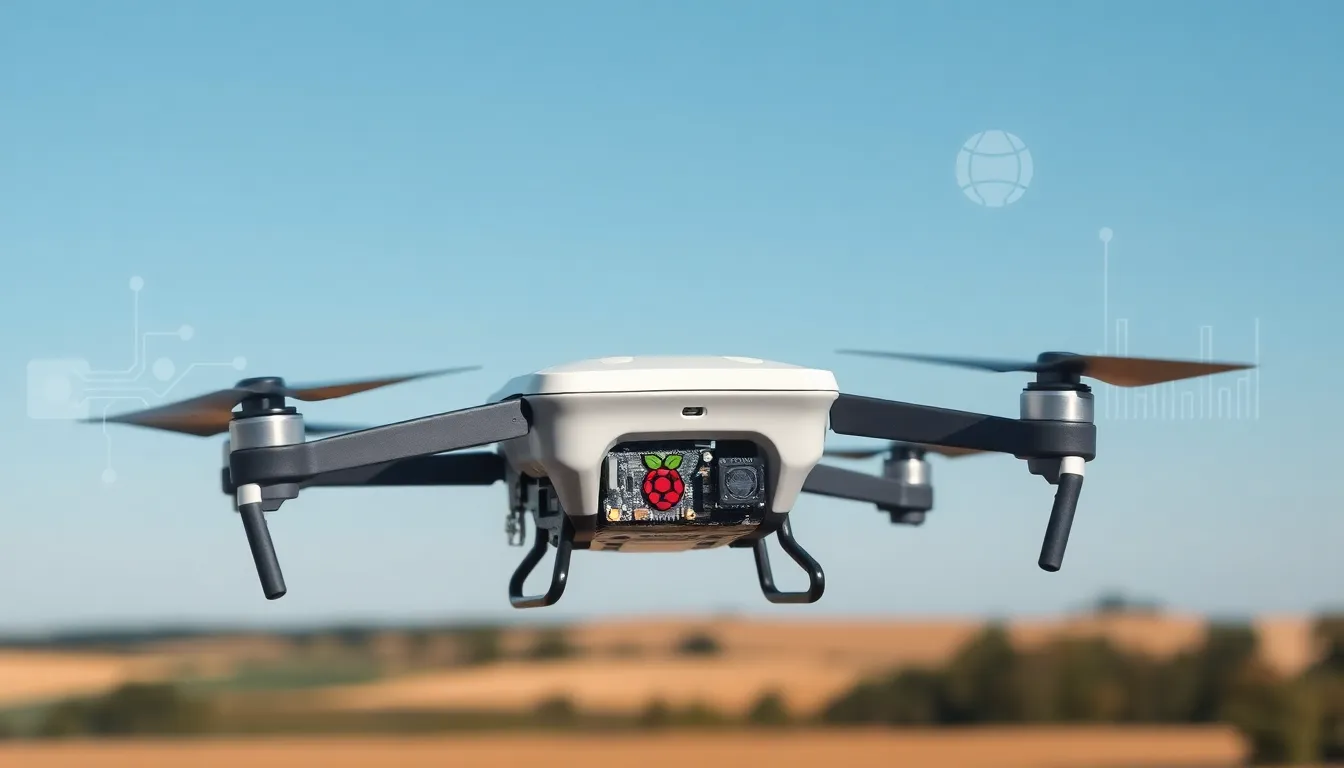
Imagine soaring through the sky, capturing heat signatures like a pro while controlling a sleek drone crafted from a Raspberry Pi Zero. Intrigued? Well, you should be. The ease of assembly, coupled with mind-bending technology, opens doors for enthusiasts and professionals alike. Whether you’re saving lives, monitoring crops, or inspecting structures, this is not just a hobby, it’s your gateway to a world of possibilities. Let’s jump into the nitty-gritty of making a Raspberry Pi Zero thermal drone that works as much as it wows.
Overview of Raspberry Pi Zero
Key Features and Specifications
The Raspberry Pi Zero is a powerhouse of compactness and efficiency. Packing a 1GHz single-core CPU and 512MB RAM into its pocket-sized frame, this board is as powerful as it is tiny. With USB On-The-Go (OTG) support, a mini HDMI port, and a GPIO header for additional components, it’s a flexible platform that holds immense potential for customization.
Advantages of Using Raspberry Pi Zero in Drones
What makes the Raspberry Pi Zero a winning choice for drones? First off, its low cost means you won’t expensive. Secondly, its lightweight design ensures that your drone maintains agility in the air. Add to that a wide array of community-driven projects, and you have all the guidance you need for building and troubleshooting. It’s the perfect blend of affordability, functionality, and community support.
Introduction to Thermal Imaging Technology
How Thermal Cameras Work
At the heart of thermal drones lies <a href="https://mamajoyworld.com/webbizmagnet-hardware“>thermal imaging technology. These marvels operate by detecting infrared radiation emitted by objects, allowing users to visualize heat differences. In simple terms, everything radiates heat, and thermal cameras convert that energy into visually appealing images. They range from simple components to complex systems, enabling a variety of applications, from detecting overheating machinery to identifying lost hikers. Understanding this concept is crucial before deploying a Raspberry Pi Zero thermal drone.
Applications of Thermal Drones
Search and Rescue Operations
Thermal drones shine brightly in search and rescue scenarios. Their ability to reveal heat signatures, even through dense foliage or darkness, can mean the difference between life and death. Rescuers have adopted this technology to locate missing persons in record time, making it a game-changer in emergencies.
Agricultural Monitoring
Farmers have turned to thermal drones to keep a close eye on their crops. By identifying irrigation issues and assessing plant health through thermal imaging, they’re not just optimizing yields but also conserving resources. Imagine knowing exactly where to water just by glancing at your drone’s display. Pretty neat, right?
Industrial Inspections
From power lines to solar panels, thermal drones help efficient inspections of industrial sites. They help detect faults or overheating equipment before they escalate into major issues, saving time and money. Thermal imaging provides an unobstructed view that conventional methods simply can’t match.
Building the Raspberry Pi Zero Thermal Drone
Required Components and Tools
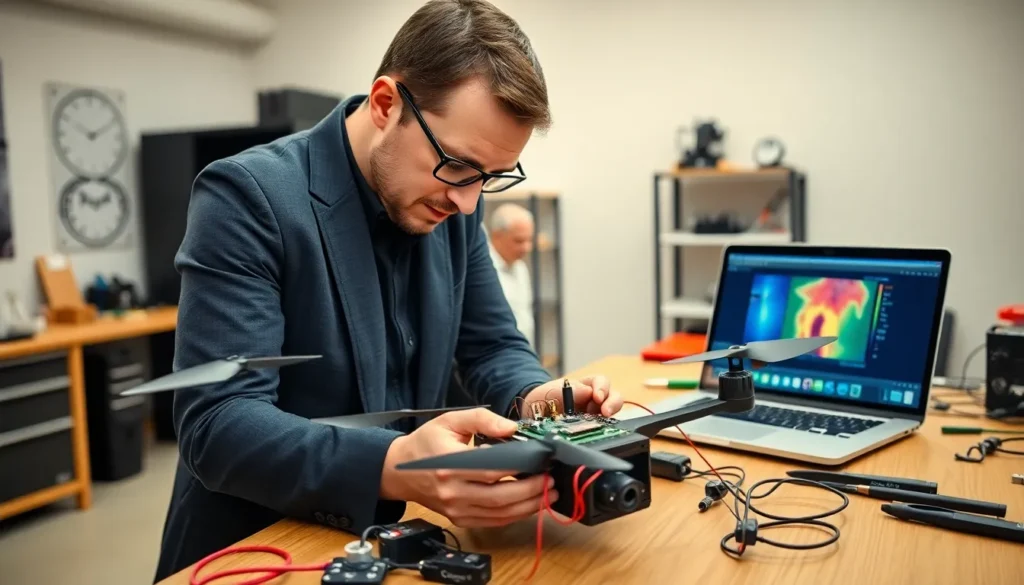
To assemble your Raspberry Pi Zero thermal drone, gather these essentials: a Raspberry Pi Zero board, a compatible thermal camera module (often the FLIR Lepton), a drone frame suitable for carrying the components, and a flight controller. Don’t forget power sources and necessary wiring. Having the right tools, soldering equipment, screws, and drivers, will make the assembly process smoother.
Step-by-Step Assembly Guide
- Prepare the Frame: Start by setting up your drone frame. Ensure that everything fits snugly, leaving space for the Raspberry Pi and thermal camera.
- Attach Components: Securely mount your Raspberry Pi Zero and attach the thermal camera. Make sure all connections are tight and easily accessible.
- Connect the Flight Controller: Wire your flight controller to the Raspberry Pi, ensuring that both power and signal connections are properly established.
- Run Initial Tests: Before taking to the skies, test all connections and configurations on the ground. This step minimizes any surprises during flight.
Software and Configuration for Drone Operation
Choosing the Right Software
Selecting an appropriate flight control software is vital for smooth operation. Options like Mission Planner or QGroundControl are renowned for their comprehensive feature sets. Each application provides unique advantages in navigation, control, and telemetry data analysis, so choose the one that suits your project best.
Configuring the Raspberry Pi for Drone Control
Once you’ve chosen your software, it’s time to configure the Raspberry Pi. This involves installing the operating system, followed by configuring settings to sync the software with your drone’s hardware. Follow documentation closely, and don’t hesitate to seek community support if you run into obstacles. Testing is crucial here, allowing adjustments before taking your drone out for a spin.